Step 4: Initiate Model#
These steps assume you already have the application running on a Raspberry Pi or local computer running.
4.1 Load and import all necessary libraries#
Press Shift + Enter on your keyboard to run the provided import statements.

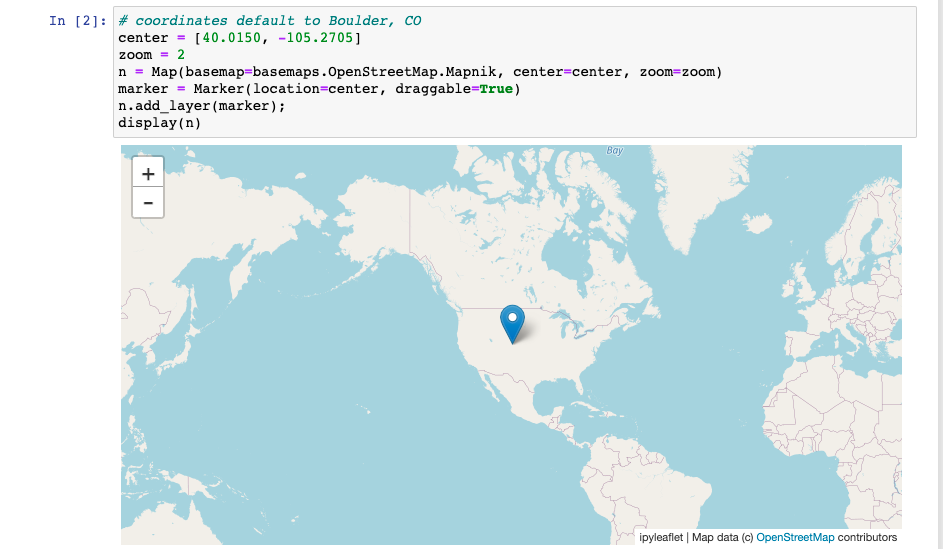
4.2 Select Domain#
The default domain in the notebook is that of Boulder, Colorado. You can modify this to your desired location by carrying out either of the following:
Enter your own preferred domain in the cell box and run it, or
Run the cell as it is, wait till it outputs a map widget and move the blue marker to your desired location.
4.3 Select Date and Time Range#
Modify the start/end dates and start/end times to reflect the decisions you made in step 2.2 above. The default dates and times in the notebook are set to your current date and time respectively. Confirm your selection by pressing Shift + Enter on your keyboard.

After specifying your start date and end dates, run the cells that follow till you get to the “Initiate Model” cell.
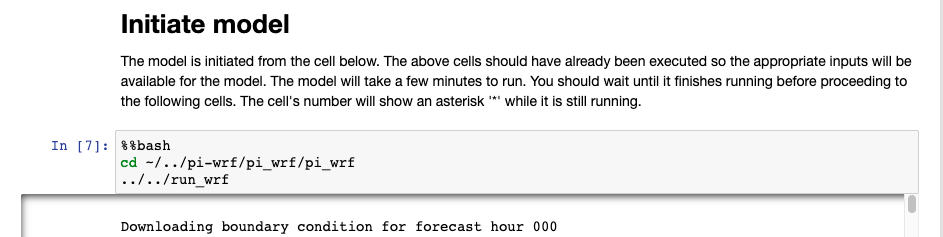
4.4 Run the Model#
Now it is time to run the model by running the “Initiate Model” cells. After the model finishes running it generates various weather conditions outputs that you can visualize in the steps that follow.
Note
The model might take some minutes while running!